My kitchen and living room used to be two completely separate rooms. Small, boxed-in, and dark. Every time I walked between them carrying something, I thought: this wall shouldn’t be here.
So one Saturday morning, I decided it wasn’t going to be there anymore.
This is the full story of how I tackled a remove-wall open concept kitchen DIY project completely solo — knocking down a non-load-bearing wall, opening up the kitchen and living room into one space, and building a counter from what was left.
No contractor, no structural engineer bill, no drama.
Well. Almost no drama.
Why I Decided to Knock the Wall Down
The kitchen was functional. It just felt claustrophobic and cut off from everything else happening in the house.
Natural light couldn’t get through.
When people came over, whoever was cooking was basically isolated.
The living room felt smaller than it was because it had nowhere to breathe.
Taking the wall down fixed all of that at once.
The rooms connected into one proper living and dining space.
Light started moving through the whole floor. It felt like the house doubled in size — and I hadn’t added a single square metre.
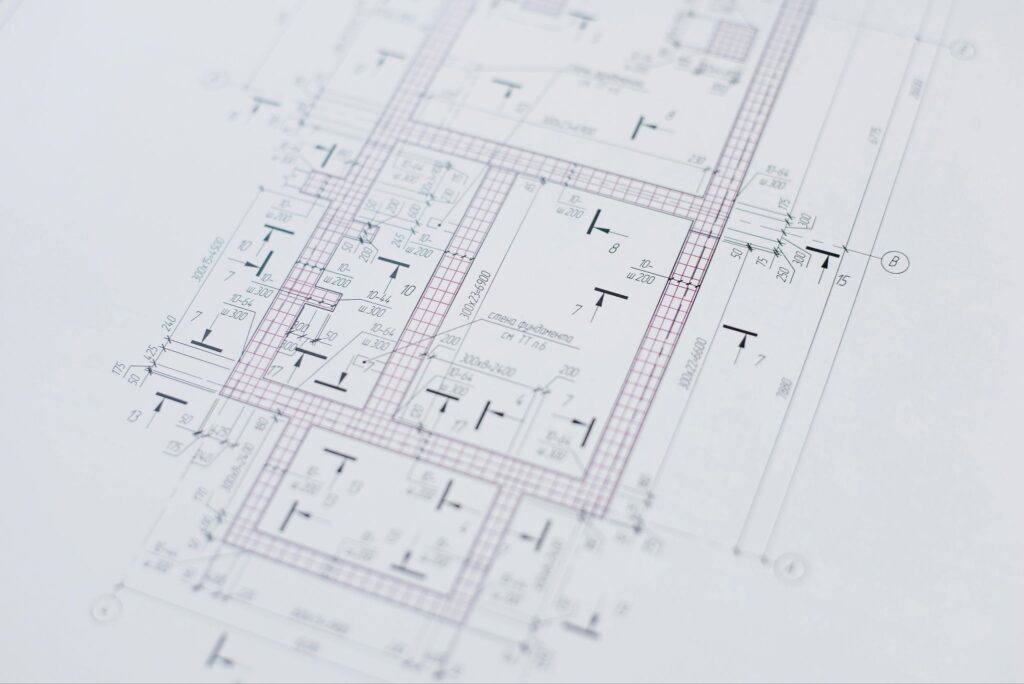
First Things First: Is It Load Bearing?
This is the question everyone asks, and rightly so.
A load-bearing wall is a structural element — it’s holding up the floor or roof above it.
Remove one without proper support in place and you’ve got a serious problem on your hands.
A partition wall, on the other hand, is just a divider. It’s not doing any structural work.
Here’s how I checked mine:
Direction relative to joists. Walls that run parallel to the ceiling joists above are almost always partition walls.
Walls that run perpendicular, crossing underneath the joists, are more likely to be load-bearing.
I went up into the space above and confirmed mine ran parallel.
What’s beneath it. If there’s a beam or structural support directly underneath the wall in the floor below, that’s a red flag.
In my case, there wasn’t.
Its position in the house. Load-bearing walls typically run through the centre of the structure or along exterior lines.
Mine was an interior wall sitting off-centre, separating two rooms — classic partition wall territory.
I also ran my findings past a friend who works in construction (not on-site, just a phone call) and he confirmed what I suspected.
If you’re at all uncertain about yours, get someone qualified to take a look before you pick up a single tool. This isn’t a step to skip.
If this is your first project of this scale, it’s worth reading through our beginner’s guide to home renovation before you commit to anything.
What’s Actually Inside a Wall Before You Start Swinging
Even a non-load-bearing wall isn’t just drywall and air.
Before demolition, I checked for:
Electrical wiring. I used a stud finder with an AC detection mode to scan the wall first.
There was one cable running through mine.
I turned off the relevant breaker, confirmed it was dead with a voltage tester, and planned my demo around it.
That cable got rerouted along the ceiling later — I did this part myself since it was a straightforward run, but if your wiring situation is more complex, this is where you call an electrician.
Plumbing. My wall had none, which I’d suspected given its position away from the wet areas.
I still checked by knocking along the wall and listening — water pipes give a dull solid sound versus the hollow knock of an empty cavity.
I also called a plumber friend just to talk through it. He confirmed from the description that there was nothing in there to worry about.
HVAC ducts. None in mine.
If you have ducted heating or cooling running through your wall, that needs to be rerouted before demo.
Budget for it.
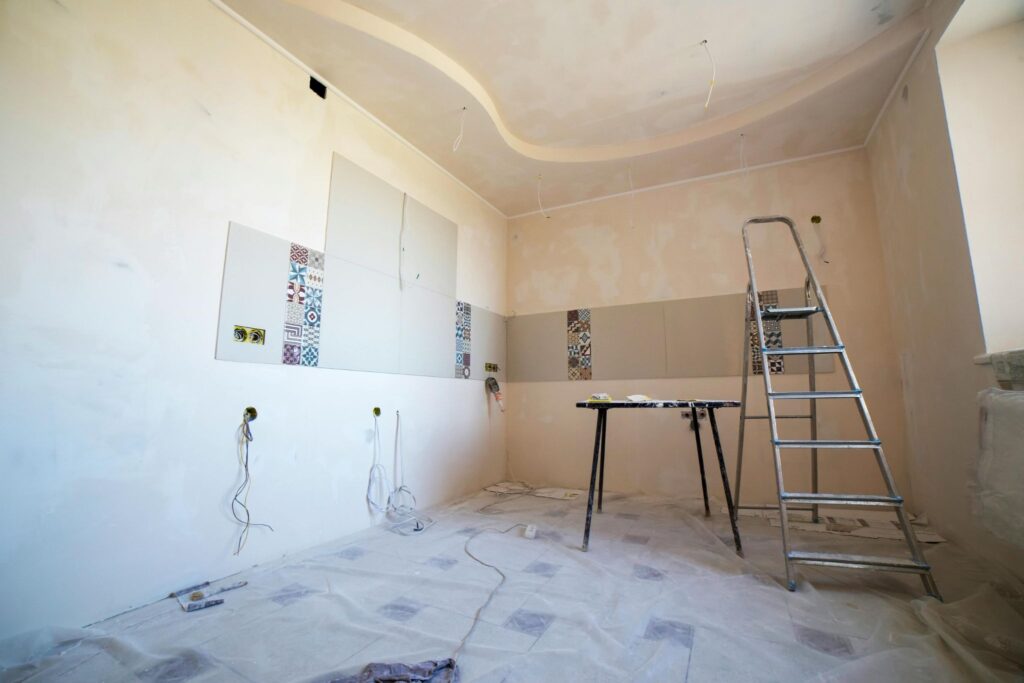
The DIY Wall Removal: How the Demolition Actually Went
Tools I used: a stud finder, utility knife, reciprocating saw, hammer, pry bar, and a lot of bin bags.
The actual sequence:
- Scored along the ceiling and floor with a utility knife to get clean separation lines
- Cut through the drywall in manageable sections with the reciprocating saw — not swinging a sledgehammer through the whole thing at once, which looks satisfying in videos and creates unnecessary mess in real life
- Pulled the drywall off in sections and bagged it as I went
- Once both sides were cleared, removed the timber studs — a few screws at top and bottom plate, then they came out cleanly
- Removed the top and bottom plates last
If you’re missing any of these, check out our full list of essential tools every homeowner should own — these are exactly the kind of projects they’re meant for.
The whole demolition took about half a day of actual work, spread across an evening and the following morning.
The One Mistake I Made
One section near the corner came down larger than intended.
I was cutting and a chunk of drywall took a bit of the ceiling plaster with it when it came loose — not structural, just cosmetic, but it meant extra patching work.
Came down to rushing the score line in that corner.
Lesson: take your time scoring the boundary lines before you start cutting.
Every minute you spend on that saves you twenty minutes patching later.
Patching Up After Demo
Removing the wall leaves three things to deal with: the gap in the ceiling where the top plate sat, the gap in the floor where the bottom plate sat, and the edges where the old drywall meets the adjacent walls.
Ceiling: I used a strip of new plasterboard cut to fit, screwed in, taped, mudded and feathered out.
Took two coats to blend it properly. Primed and painted to match.
Floor: The bottom plate left a narrow channel in the floor.
Filled it with a flexible wood filler, sanded level, and the flooring I added later covered the rest.
Wall edges: Taped and mudded the joints, feathered them wide so the transition isn’t visible.
A couple of coats, light sanding between each, and they disappeared.
None of this is difficult.
It just takes patience and letting each coat dry properly before the next.
Building the Counter From the Salvaged OSB
Here’s the part most people don’t think about.
When you take down a partition wall, you end up with a pile of timber studs and, in my case, some solid OSB sheathing panels.
Most people skip them straight into the bin.
I built a kitchen counter from mine instead.
The Base Structure
The salvaged timber studs became the frame.
I built a simple rectangular base — think of it like a very sturdy box — sized to sit against the wall where the old partition had been.
The footprint ended up at 2 metres long by 25cm deep, which is a useful depth for a prep counter without eating too much floor space.
The frame went together with screws.
No fancy joinery.
Squared it up, checked it was level, fixed it to the wall at the back for stability.
The Top Board
For the counter surface, I added a solid board on top — 40cm wide, which gives a proper usable work surface that overhangs the base frame slightly.
This wasn’t salvaged; I bought a new board specifically for this because the top surface needs to be flat, smooth, and consistent.
The OSB framing underneath is structural.
The top board is functional.
Screwed up through the frame into the board from underneath so the surface stays clean with no visible fixings.
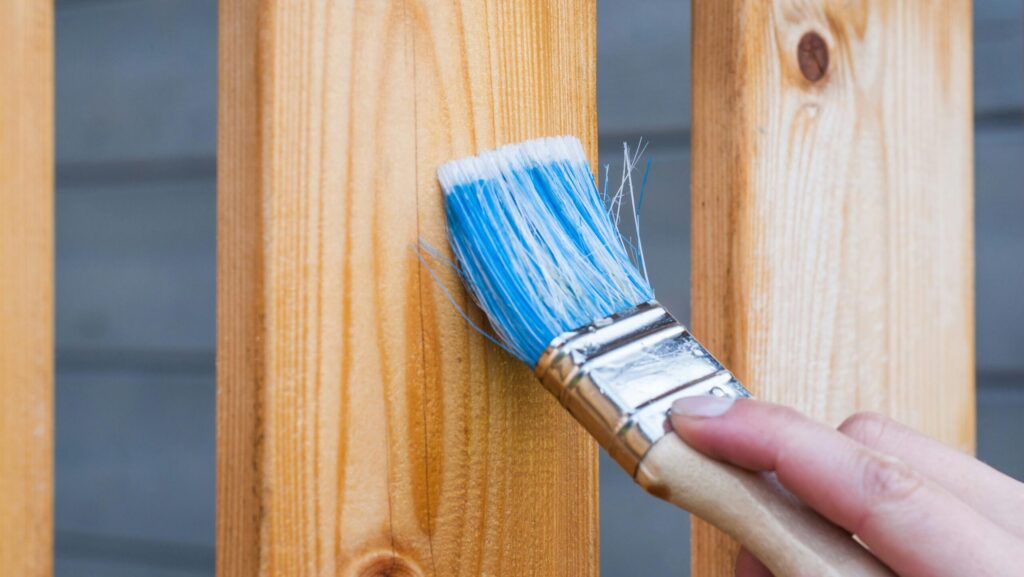
Finishing and Sealing
OSB is not naturally water-resistant, and a kitchen counter gets wet.
This step matters.
I sanded the whole surface — frame and top board — to remove any rough edges and give the sealant something to grip.
Then two coats of a waterproof wood sealant on all exposed surfaces, paying extra attention to the edges and any cut ends where moisture loves to sneak in.
Let each coat dry fully before the next.
The top board got an additional coat specifically around the edges where it meets the wall, plus a bead of silicone sealant along that joint.
Water finding its way into that gap is how counters start rotting from the inside.
Seal it properly once and you won’t think about it again.
Total cost for the counter itself: the new top board plus sealant and fixings.
The frame was free — it came out of the wall.
Was It Worth It?
Without question.
The space feels completely different.
More light, more room, better flow — it stopped being two cramped rooms and became one proper living area.
The kitchen connects to where people actually spend time, which changes how the whole floor feels day-to-day.
The counter has been in use since and holds up fine.
It’s not going to win a design award, but it’s solid, practical, and cost almost nothing beyond time.
The whole project took around two weeks — not two weeks of full days, but two weeks of evenings and weekend mornings slotted around a regular job.
That’s the realistic timeline for a solo DIY project like this.
If you can dedicate full days to it, you’d probably knock it out in three or four.
Planning what smart features to add to your new open space? Start here
Frequently Asked Questions
Do I need a permit to remove a non-load-bearing wall? It depends on your local building regulations.
In many areas, removing a partition wall that contains no structural, electrical, or plumbing elements doesn’t require a permit.
But rules vary significantly by location.
Check with your local building authority before starting — it takes one phone call and saves potential headaches if you ever sell.
How do I know for certain my wall isn’t load-bearing? Check the direction it runs relative to your ceiling joists, what’s underneath it in the floor below, and its position in the house.
If in any doubt, pay for a structural engineer or experienced builder to assess it.
The inspection costs far less than fixing a structural problem.
Can I do this alone or do I need help? A non-load-bearing wall removal is manageable solo with the right tools and patience.
Having someone help with the larger drywall sections makes it easier, but it’s not essential.
The parts that genuinely need professional input are electrical rerouting (if complex) and anything involving load-bearing structure.
Is OSB strong enough for a kitchen counter? As a base frame material, yes — OSB is commonly used in structural applications.
What you don’t want is OSB as the top surface exposed to water and daily use without proper sealing.
Use it for the structure, top it with a solid board, seal everything thoroughly, and it’ll hold up fine.
How long does a project like this realistically take? For a solo DIYer working around a full-time job: two to three weeks for the demolition, patching, and any finishing work.
The counter build adds a weekend on top. If you can work full days, cut that in half.
Conclusion
A remove-wall open concept kitchen DIY project sounds like a bigger deal than it often is — especially when it’s a partition wall that’s been doing nothing more useful than making your rooms feel smaller.
Between the open space it creates and the materials you end up with, there’s more to work with than most people expect.
If you’ve got a wall in your house that you’ve been looking at thinking “that shouldn’t be there” — it might be easier to do something about it than you think.